Jewelry photography guide
How to Photograph Diamonds: Lighting for Brilliance, Fire and Scintillation
A diamond in the hand sparkles because the eye moves, the stone moves, and light arrives from many directions at once. A photograph is one fixed viewpoint with fixed lights, so none of that happens on its own. Photographing a diamond well means recreating brilliance, fire and scintillation on purpose: deciding which facets go bright, which go dark, and how the setting around the stone keeps its own polish. This guide covers the optics, the lighting, the camera settings and the handling, and then explains where photography ends and retouching begins.
Brilliance, fire and scintillation
Jewelers describe what a cut diamond does with light in three words, and the course’s Diamonds lesson uses the same vocabulary. Brilliance is the white light returned to the eye by the facets. Fire is the colored flashes produced when the stone splits white light into its spectrum. Scintillation is the play of light and dark as the stone, the light or the viewer moves. A photograph can show the first two directly; the third has to be suggested by the pattern of bright and dark facets in a single frame.
The 4Cs matter for the photographer as well as the buyer. Cut decides how much light the stone returns and therefore how much there is to photograph. Color shows most clearly against a neutral white background and under neutral light. Clarity decides how much cleaning the image needs at macro scale. Carat decides magnification: a small stone is photographed at close to life size, where depth of field is only a millimeter or two.
How a faceted stone behaves under light
A cut diamond is a cluster of small flat mirrors at different angles. Each facet reflects a light source only when the geometry lines up: light in, facet angle, lens position. Under one large, soft source most facets reflect the same even white and the stone looks milky and flat. Under several small, hard sources, facets light up individually, some bright, some dark, and the stone reads as a brilliant, three-dimensional object. The sparkle in a professional diamond image is not luck; it is the sum of several deliberately placed hard sources.
This is the central tension in jewelry lighting. The metal setting wants a large diffused source so it shows smooth gradients. The stone wants small hard sources so it shows contrast between facets. Professional setups give each what it needs: a diffused panel for the metal, and one or more focused lights aimed only at the stone.
Lighting the stone
Start with the metal lit the way you want it, using a large diffuser and black cards as described in the guide on lighting. Then add the stone light. A focusable spot, such as the Dedolight fresnel fixtures shown in the course, placed well off the camera axis, creates sharp facet reflections. Raking the beam across the stone from a steep angle usually gives the best separation between facets; light from directly behind the camera tends to flatten the crown.
Two or three small sources from different directions produce the richest result, because each one lights a different set of facets. Keep them at different brightnesses so the sparkle has hierarchy rather than uniform glare. Watch the table facet, the large flat top of the stone: it reflects whatever is above the camera, and a dark table with a bright crown is the classic look.
Fire comes from a small, white source: the narrower the beam, the cleaner the spectral flashes. If a stone shows no fire in the image, the answer is a harder, smaller light at a steeper angle, not colored gels and not saturation in Photoshop.
Camera, lens and settings
Stones are photographed close, which means a macro lens, a sturdy tripod and a tethered connection to a monitor so facet reflections can be judged at full size. At macro distances depth of field is a few millimeters even at small apertures, and very small apertures soften the image through diffraction. The professional answer is to shoot at a moderate aperture, around f/8 to f/11 on full frame, for maximum sharpness, and capture several frames at different focus distances to combine later. That technique, focus stacking, has its own guide and is the subject of the free sample lesson from the course.
Use the lowest native ISO, trigger the camera from the tethering software or a remote release, and shoot raw: the dynamic range between a bright facet reflection and the dark pavilion of a stone is wide, and raw files keep both ends.
Cleaning and handling
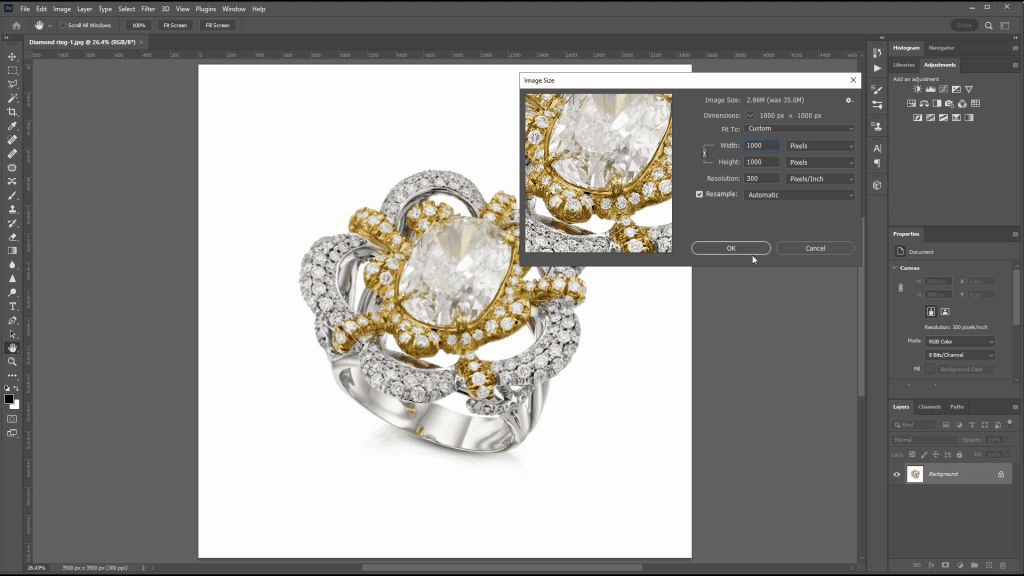
Dust, fibers and fingerprints are invisible to the eye and enormous at macro scale. The course dedicates a lesson to cleaning, handling and setting up jewelry before any photography. Standard studio practice is steam cleaning where the piece allows it, gloves or tweezers for handling, a blower and a soft brush before every frame, and inspection on the monitor before committing to a shot. Rings are held upright with a small piece of museum wax or putty behind the band, hidden from the camera; loose stones sit on a clean dark surface or a small acrylic riser.
Where retouching takes over
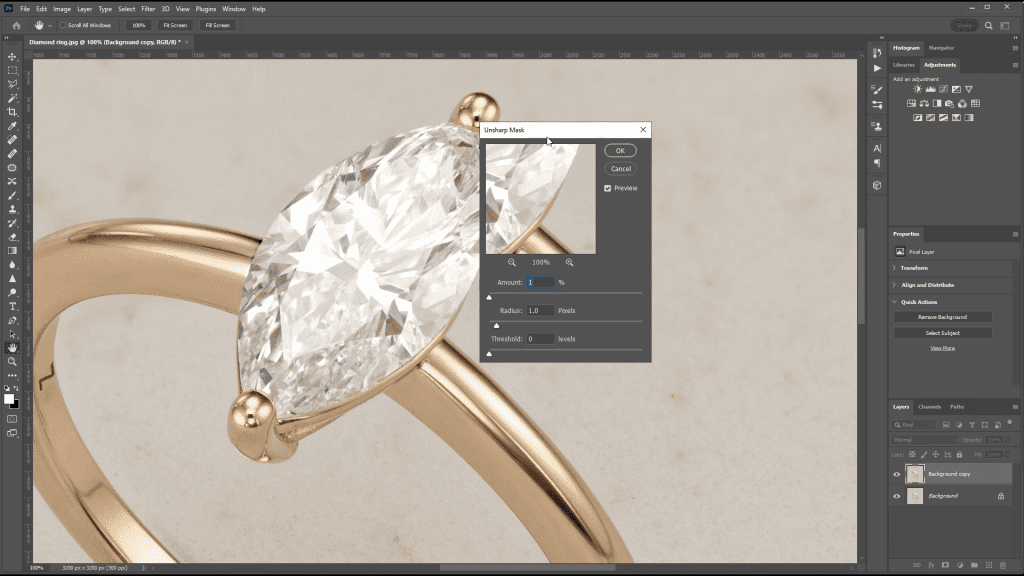
Even a perfectly lit stone needs finishing. Facet edges are cleaned, stray dust removed, the table facet evened out, and the brightest facets selectively enhanced so the sparkle reads at catalog size. Inclusions visible at macro scale may be reduced if the image is for advertising rather than certification. Color is checked on a calibrated monitor against the real stone. None of this replaces lighting: the retoucher can brighten a facet that caught some light, but cannot invent sparkle in a stone that was lit flat.
A quick checklist
- Light the metal first with a large diffused source and black cards.
- Add one to three small hard sources aimed at the stone, from steep off-axis angles, at different brightnesses.
- Keep the table facet dark and the crown bright.
- Macro lens, tripod, tethered, raw, low ISO, moderate aperture.
- Capture a focus stack for front-to-back sharpness.
- Clean the stone before the shot; clean the image after it.
Colored stones follow the same facet logic but add body color, which needs light passing through the stone; pearls and opals are about surface and translucency rather than facets and prefer large soft sources. Those subjects are outside the scope of this guide, which follows what the course teaches about diamonds.
Learn it step by step
Mastering Jewelry Photography, the online course by commercial photographer Ivan Moshe, includes a dedicated lesson on diamonds in its chapter on working with jewelry, a lesson on cleaning and handling pieces, full practical sessions on photographing rings, earrings, bracelets and necklaces, and about two and a half hours of Photoshop retouching in which real pieces, stones included, are taken from raw capture to finished advertising image. 49 lessons, 12 chapters, one-time payment of $99, lifetime access.
Related guides
- How to Photograph Jewelry: Professional Lighting Techniques: the principles behind every setup
- How to Photograph Rings: lighting, focus and composition
- Focus Stacking for Jewelry Photography: Full Guide: keeping a whole piece sharp from front to back
- Jewelry Retouching in Photoshop: A Professional Workflow: from selections to sharpening
About the author
Ivan Moshe is a commercial photographer and high-end retoucher who has photographed products for the advertising industry for more than 15 years, from his studio in Tel Aviv’s Diamond District. He was selected for Lürzer’s Archive 200 Best Ad Photographers Worldwide in 2021/22 and 2023/24, and he teaches Mastering Jewelry Photography, the online course these guides are drawn from.