Jewelry photography guide
How to Photograph Jewelry: Professional Lighting Techniques
Jewelry is one of the hardest subjects in product photography, and almost every problem traces back to light. Polished metal has no look of its own: it shows whatever surrounds it. A diamond is a cluster of small mirrors. A pearl is a soft, translucent sphere. The camera and lens matter, but the difference between a snapshot and a catalog image is how the light sources, their size and their position are controlled. This guide explains the lighting principles professionals rely on, so you can apply them with the equipment you already have.
Why jewelry lighting is different
Most product photography is about illuminating a surface. Jewelry photography is about managing reflections. A polished gold band reflects the room, the camera, the photographer and every light in it. What you see on the metal is not the metal; it is a map of the environment around the piece. The practical consequence is simple: to control how the metal looks, you control what the metal reflects.
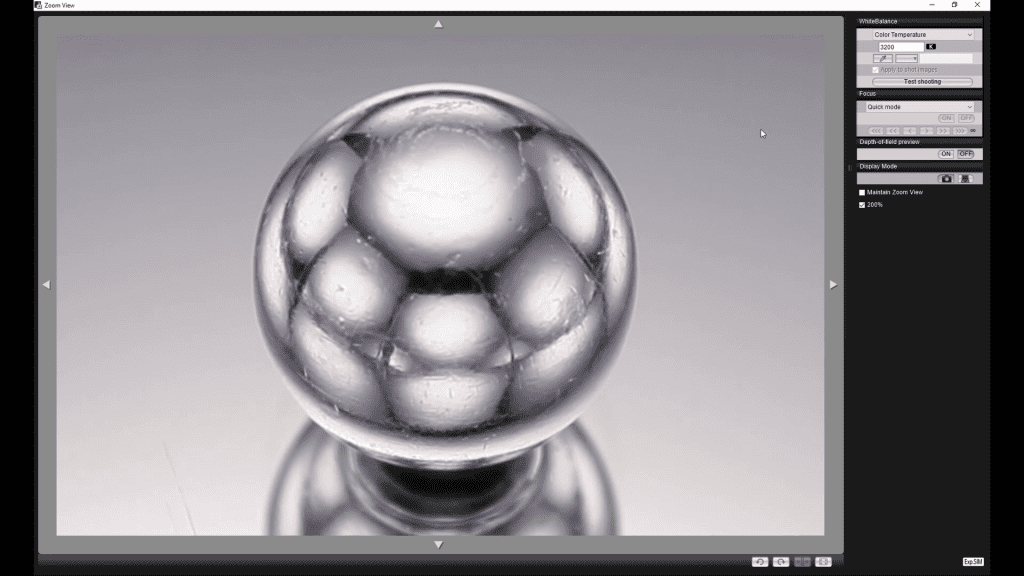
This is why the same piece can look dull and gray in one setup and rich and three-dimensional in another. The lights did not change the gold. They changed the reflections the gold was showing. The course’s practical chapter works on a chrome sphere before any real piece is photographed; a sphere shows every reflection at once and makes the effect of each light obvious.
Principle 1: the size of the light source
The most important decision in jewelry lighting is how large the light source is relative to the piece. A small, hard source (a bare flash, a small LED) produces tiny, sharp highlights and deep, abrupt shadows. A large, diffused source produces broad, smooth highlights that wrap around curved surfaces.
For polished metal, large sources are usually the starting point. A diffusion panel or a softbox placed close to the piece becomes a wide, even reflection in the metal, which reads as a clean, bright surface rather than a scatter of hot spots. For faceted stones the logic flips in part: facets need some harder, smaller sources to produce sparkle, which is covered in the guide on photographing diamonds.
A useful habit is to think in terms of reflection size, not light power. Moving a source closer makes it larger relative to the piece and softens the result; moving it away makes it smaller and harder, regardless of its output. Distance also changes brightness quickly: light falls off with the square of the distance, so a source moved from 50 cm to 100 cm delivers a quarter of the light. That fall-off is a tool in itself, used to keep a background dark while the piece stays bright.
Principle 2: building gradients on metal
An evenly lit piece of metal looks flat. What makes a ring band look round and polished is a gradient: a transition from bright to dark across the surface. Professionals build these gradients deliberately. A diffusion panel lit from one side produces a reflection that is brighter at one edge and darker at the other; when the metal reflects it, the band shows a smooth tonal roll that describes its shape.
In practice this means lighting the diffuser, not the jewelry. The piece is positioned so that the surfaces you care about reflect the panel, and the lamp behind the panel is angled to put the bright part of the gradient where you want the metal to look brightest. Small changes in lamp angle produce large changes on the metal, so this is slow, precise work done while watching the result on a tethered monitor rather than through the viewfinder.
Principle 3: black and white cards
Because metal reflects its surroundings, pieces of black and white card are lighting tools in their own right. A black card placed near a highly polished surface creates a dark reflection that defines an edge and adds contrast; without it, the metal can disappear into a bright, featureless blur. A white card does the opposite, filling a dark area with a soft, bright reflection.
Many of the most refined jewelry images are built mostly with cards: one or two actual lights, and then a careful arrangement of reflectors and flags around the piece that decide exactly which part of the metal is bright, which is dark, and where the transitions fall. Grip equipment (clamps, articulated arms, small stands) matters here, because every card has to hold its position precisely for the duration of the shoot, which is why the course gives it a lesson of its own.
Principle 4: controlling the environment
Anything in the room can appear on the piece: a window, a colored wall, the black camera body, the photographer. The standard solution is to enclose the set. A tent of diffusion material, or a built arrangement of panels around the piece, replaces the room with a controlled environment that the metal can reflect. The lens then looks in through a small opening, and even that opening may be visible on a highly polished surface as a dark spot that must be managed by position or in retouching.
The same thinking applies to color. White metal picks up color casts from anything nearby, so neutral surroundings and a calibrated monitor are part of the lighting workflow, not an afterthought.
Principle 5: continuous light versus flash
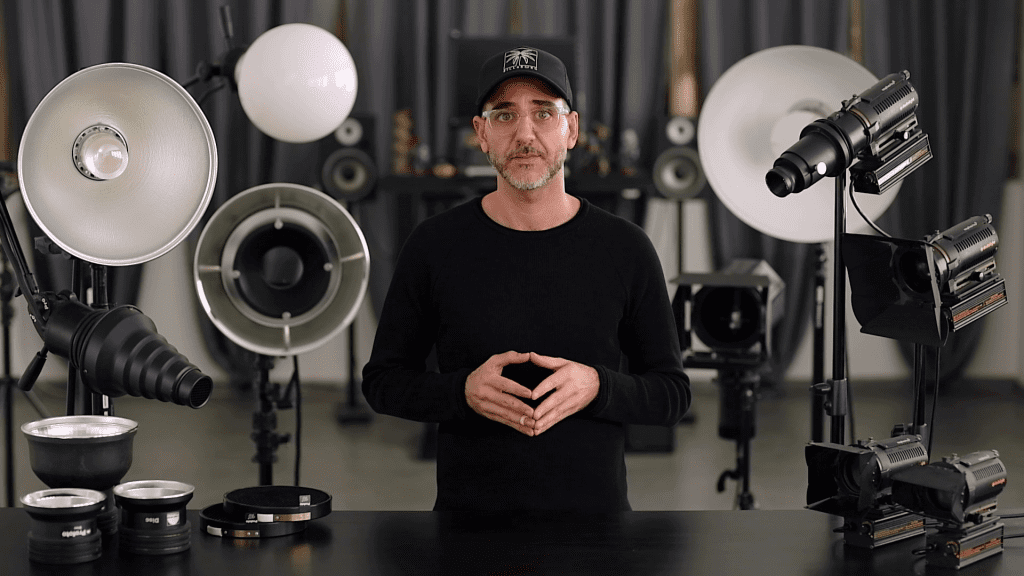
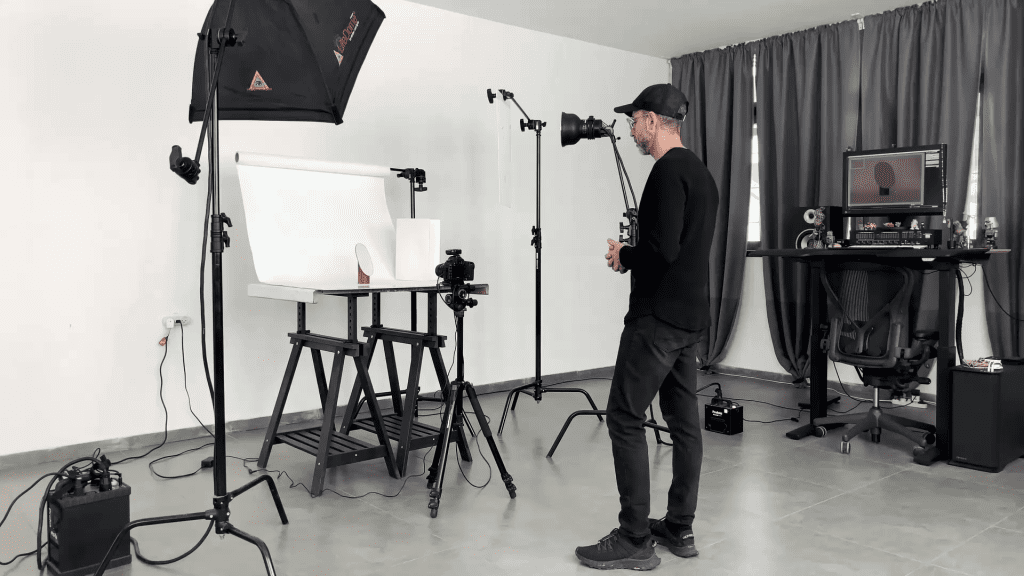
Jewelry is static, so continuous light is a practical choice: you see the reflections exactly as the camera will record them, and you can move a card by a centimeter and watch the effect live. Focusable fresnel lights allow a narrow, hard beam to be aimed at a specific facet or edge, which is particularly useful for adding a controlled accent to a stone. The course’s own lighting setup is built on Dedolight fresnel fixtures, introduced in a lesson of their own. Flash offers more power and freezes any vibration, but the modeling lamp rarely shows reflections exactly as the flash will, which makes fine positioning slower.
Whichever source you use, a tripod, tethered shooting and a remote release are assumed. Jewelry work is done at close distances, where exposures are long and any camera movement destroys sharpness.
Principle 6: lighting a black background
Jewelry on black is a classic look because the dark surroundings let the gradients on the metal read clearly. The technique is to light the piece without lighting the background: keep the sources close to the piece, angled so that their spill falls off before reaching the backdrop, and position the background far enough behind the subject that it receives very little light. Black acrylic adds a controlled reflection under the piece; black velvet absorbs almost everything and produces a true, textureless black.
Putting it together: a typical ring setup
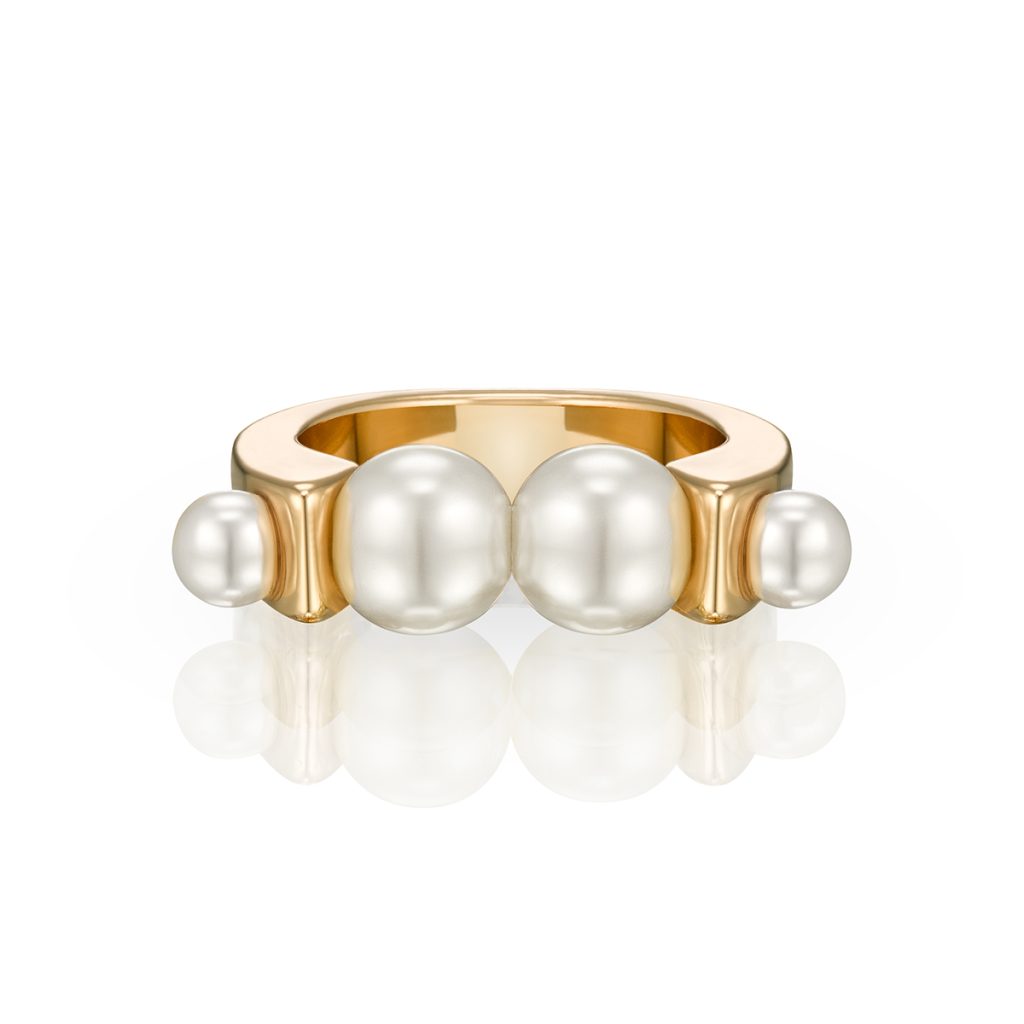
A common professional approach to a solitaire ring looks like this. The ring stands on a dark or neutral surface, held upright with a small amount of wax or putty on the back of the band. A large diffusion panel is placed above and slightly in front, lit by one lamp angled to produce a gradient. A second, smaller source is aimed at the stone to produce sparkle. Black cards on either side give the band dark edges so its shape is readable. The camera is on a tripod, tethered, with a macro lens, and the image is captured as a series of frames at different focus distances to be combined later, because at this magnification no single frame can hold the whole ring in focus. That last step, focus stacking, has its own guide.
Common mistakes
- Using a small source on polished metal, which produces a scatter of hard hot spots.
- Lighting the background by accident, so a black backdrop turns gray.
- Leaving the room visible: windows, walls and the camera all end up on the piece.
- Judging the light through the viewfinder instead of on a calibrated monitor.
- Expecting retouching to fix a reflection that should have been controlled on set. Retouching finishes a well-lit image; it cannot create one.
Watch it explained
Two free tutorials from Ivan Moshe’s YouTube channel cover the theory behind this guide: The Best Lighting for Jewelry Photography, on his lighting of choice and why, and The Characteristics of Light, on the inverse square law and controlling fall-off.
Learn the complete workflow
These principles are the foundation, but the craft is in the details: how a specific panel is angled for a specific band, how a bracelet is lit differently from a necklace, how the metal sphere and the mirror are used to learn reflections before tackling real pieces. Mastering Jewelry Photography, the online course by commercial photographer Ivan Moshe, covers exactly this in 49 video lessons across 12 chapters: a four-lesson theory chapter on lighting, a lesson on grip equipment, a practical chapter in which the mirror, the metal sphere, rings, bracelets, earrings and necklaces are lit and photographed step by step, and the complete Photoshop retouching of every piece. One-time payment of $99, lifetime access.
Related guides
- Photographing Reflective Jewelry: How to Control Reflections: the mirror, the sphere and the family of angles
- Jewelry Photography Studio Setup: lighting, grip and workspace
- How to Photograph Diamonds: lighting for brilliance, fire and scintillation
- How to Photograph Rings: lighting, focus and composition
About the author
Ivan Moshe is a commercial photographer and high-end retoucher who has photographed products for the advertising industry for more than 15 years, from his studio in Tel Aviv’s Diamond District. He was selected for Lürzer’s Archive 200 Best Ad Photographers Worldwide in 2021/22 and 2023/24, and he teaches Mastering Jewelry Photography, the online course these guides are drawn from.