Jewelry photography guide
How to Photograph Bracelets: Standing, Flat-Lay and Product Views
Bracelets split into two families that are photographed in different ways. Rigid bangles and wide cuffs stand on their own and are shot like a large ring: upright, with a gradient across the metal and a reflection beneath them. Chain bracelets and soft link bracelets collapse when stood up, so they are laid flat and photographed from above. The course gives each family its own practical lesson, and this guide follows the same split.
Standing bracelets and bangles
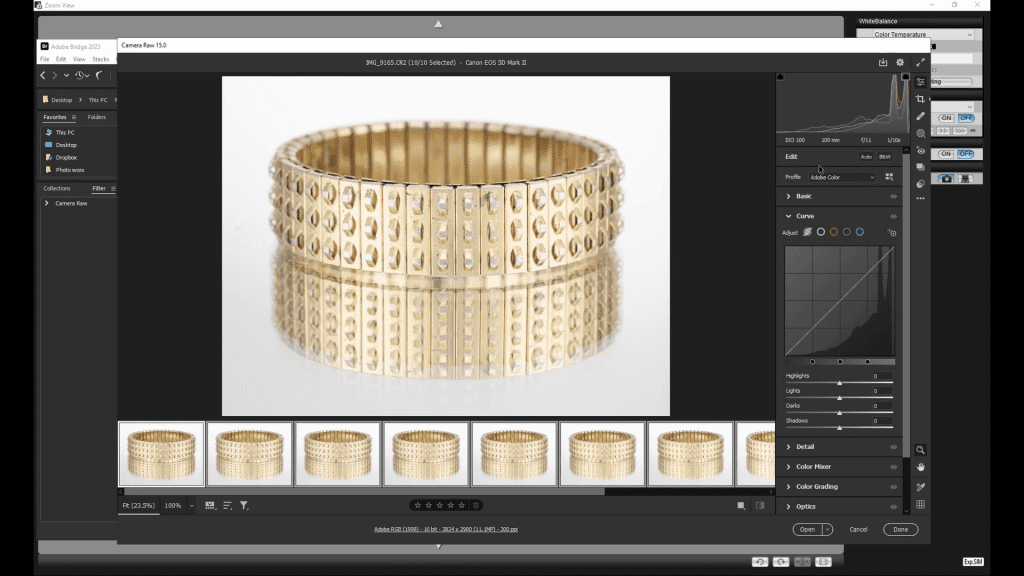
A rigid bracelet stands on its edge like a ring, usually turned so the camera sees both the outer surface and the opening. It needs very little support: a small piece of putty at the base keeps it from rolling. The challenge is its size. A bracelet is a wide, curved mirror, and it reflects far more of the room than a ring does, so the set around it has to be larger: a bigger diffusion panel above, and black and white cards tall enough to cover the full height of the piece.
The gradient across the band is what makes it look round and polished. The panel above is lit from one side so the reflection in the metal runs from bright at the top to dark at the bottom, and black cards at the sides give the edges definition. Stones or studs on the surface are lit as a second step with a small hard source, flagged so it does not flatten the gradient on the metal.
Flat-lay bracelets
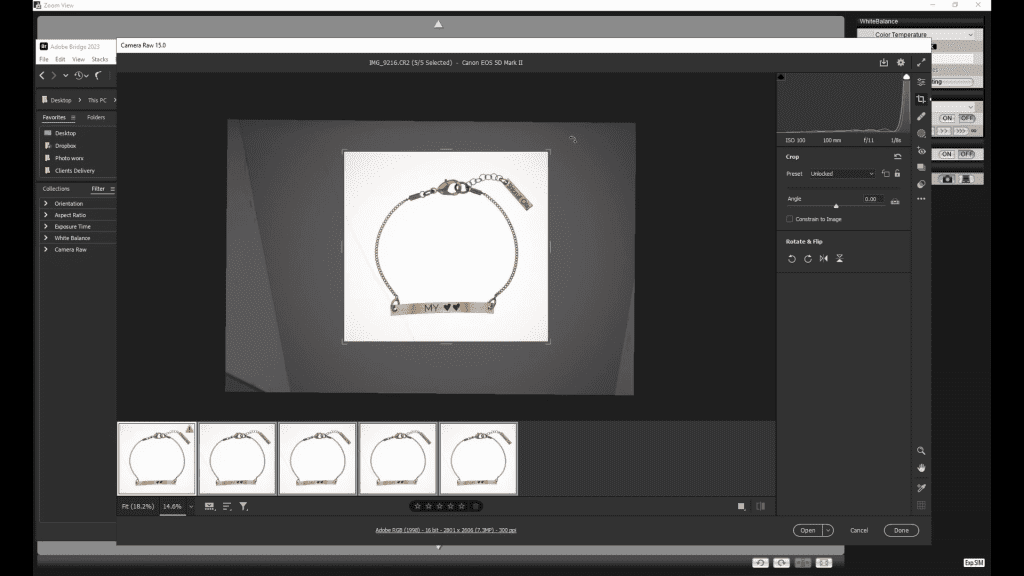
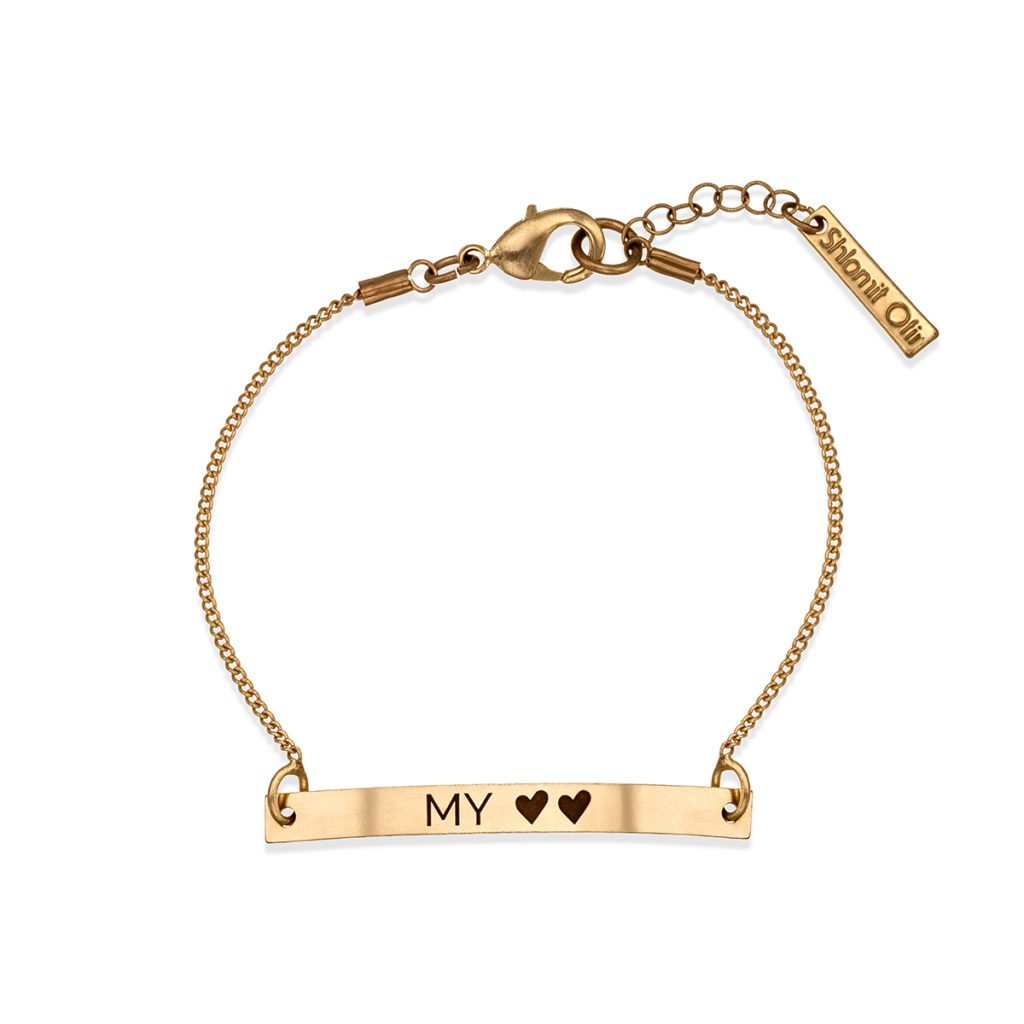
A chain bracelet is laid on the surface and shaped by hand: an open loop, a soft curve or a straight line with the clasp shown. As with necklaces, each link is turned to face the camera and the curve is adjusted until it is clean and symmetrical. The camera looks down from directly above or from a slight angle. The surface is part of the image, so a plain white acrylic or paper gives a catalog look while a textured or colored surface moves the image toward advertising.
Lighting a flat-lay is simpler in one way and harder in another. The links are all in one plane, so one large diffused source above the set lights them evenly, and depth of field is rarely a problem. But a flat piece on a flat surface has no gradient to describe its shape, so the three-dimensional look comes from small dark edges on each link, produced by black cards low around the set, and from a controlled shadow or reflection on the surface.
Focus and sharpness
A standing bracelet has depth, from the near edge to the far edge of the band, and at the magnification needed to fill the frame a single exposure cannot hold all of it in focus. It is captured as a focus stack, exactly as a ring is, and merged in Helicon Focus. A flat-lay photographed from directly above sits in one plane and a single frame at f/8 to f/11 is usually sharp across the whole piece; a flat-lay photographed at an angle needs a stack. The Focus Stacking guide explains the capture and the merge.
Retouching bracelets
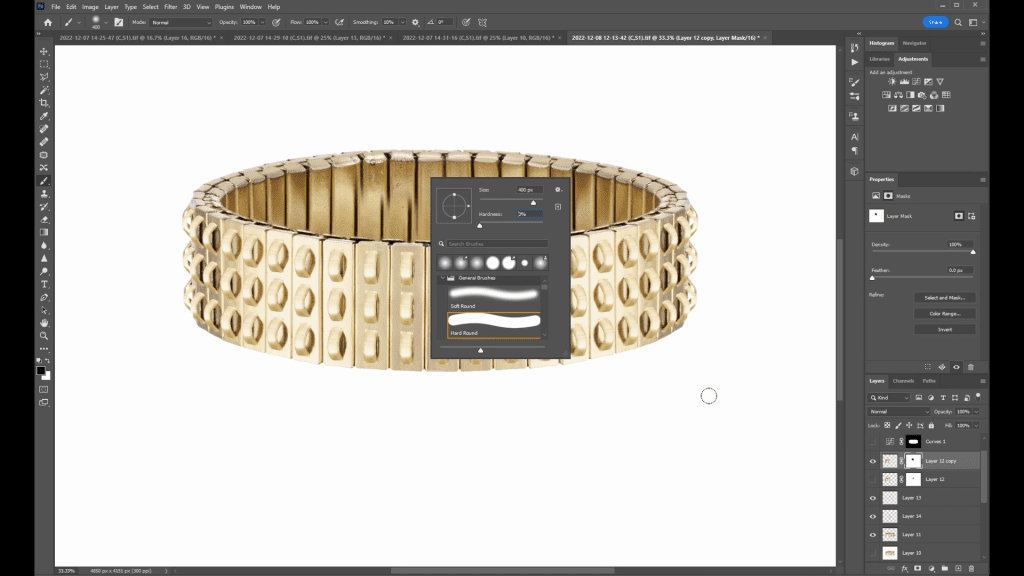
The course has two bracelet retouching lessons, one for the standing piece and one for the flat-lay. The standing bracelet is treated like a ring at larger scale: the support is removed, the gradient on the metal is refined, each stud or stone is cleaned and sharpened, and the reflection on the surface is adjusted or rebuilt. The flat-lay needs every link checked individually, the clasp and tag cleaned, and the engraving on any plate made legible without looking artificial.
Common problems
- The bracelet rolls or tilts during the stack: use putty at both contact points and let the piece settle before the first frame.
- The band shows the whole studio: the diffuser and cards are too small for the piece; scale the set up to the size of the bracelet.
- A flat-lay looks like a flat drawing: add black cards low around the set so the links get dark edges.
- The clasp is a dark blob: it is a different metal finish or a different angle from the links; light it separately or photograph it as a detail.
- The engraving on a plate is unreadable: rake a small light across the plate at a low angle so the letters cast tiny shadows.
See both bracelet lessons
Mastering Jewelry Photography includes two practical lessons on bracelets, one standing and one flat-lay, and two bracelet retouching lessons, inside a 49-lesson course covering lenses, camera, lighting theory, grip equipment, tethered shooting, focus stacking, rings, earrings, necklaces and the complete Photoshop workflow. One-time payment of $99, lifetime access.
Related guides
- How to Photograph Necklaces: hanging and flat layouts for e-commerce and advertising
- How to Photograph Rings: lighting, focus and composition
- Focus Stacking for Jewelry Photography: Full Guide: keeping a whole piece sharp from front to back
- Jewelry Retouching in Photoshop: A Professional Workflow: from selections to sharpening
About the author
Ivan Moshe is a commercial photographer and high-end retoucher who has photographed products for the advertising industry for more than 15 years, from his studio in Tel Aviv’s Diamond District. He was selected for Lürzer’s Archive 200 Best Ad Photographers Worldwide in 2021/22 and 2023/24, and he teaches Mastering Jewelry Photography, the online course these guides are drawn from.