Jewelry photography guide
Choosing a Lens for Jewelry Photography: Macro, Focal Length and Sharpness
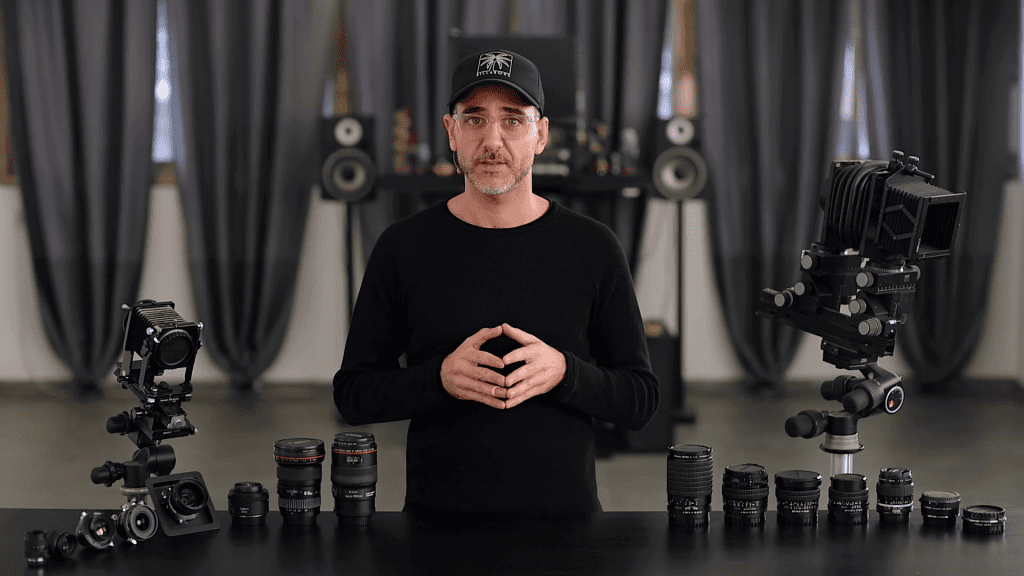
Jewelry is small, and the lens is what decides how much of a 20-millimeter ring fills the frame, how far the camera sits from the set, and how sharp the fine detail is. The right lens is not the most expensive one; it is the one whose magnification, working distance and sharpest aperture fit the piece and the set. This guide covers the questions a photographer meets when choosing a lens; the course gives lenses a three-lesson chapter of their own.
Why a macro lens
A standard lens stops focusing somewhere around 30 to 50 centimeters, at which distance a ring is a small object in the middle of the frame. A macro lens is designed to focus close enough to reproduce the subject at life size on the sensor (1:1), which means a 20-millimeter ring covers 20 millimeters of the sensor, or most of the frame on full frame. Macro lenses are also corrected for close distances, where ordinary lenses lose sharpness and show curvature, and they are typically among the sharpest lenses a manufacturer makes.
Extension tubes and close-up filters make an ordinary lens focus closer, at some cost in sharpness and light, and are a reasonable way to start. For professional work the dedicated macro lens is the standard tool.
Focal length and working distance
Macro lenses come in focal lengths from around 50 mm to 200 mm, and all of them reach 1:1. The difference is working distance: how far the front of the lens is from the piece at a given magnification. A 50 mm macro sits a few centimeters from a ring at life size, which leaves no room for lights, cards or a diffusion panel between lens and subject, and the lens itself becomes a large dark reflection in the metal. A 100 mm macro doubles that distance; a 150 to 200 mm macro doubles it again.
Longer focal lengths also flatten perspective. At close range a short lens exaggerates whatever is nearest: the front of a ring looks larger than the back and a round band looks egg-shaped. A longer lens draws the piece closer to how it looks to the eye. For these two reasons, working room and natural proportions, most jewelry photographers use a macro lens of 100 mm or longer on full frame.
Magnification and sensor size
Magnification describes how large the piece is on the sensor, not in the final image. A smaller sensor crops the frame, so a 1:2 lens on an APS-C camera fills the frame with roughly the same ring that needs 1:1 on full frame, but the depth of field and diffraction behaviour of the lens follow the real magnification, not the apparent one. The course’s Camera chapter includes a lesson on the sensor; the lens and the sensor are chosen together.
The sharpest aperture
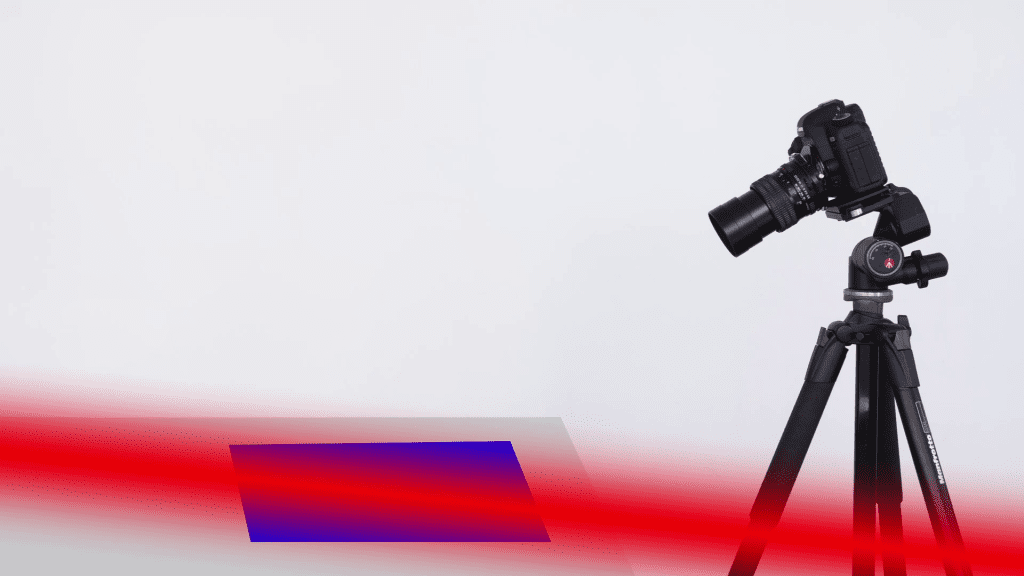
Every lens has an aperture range where it is sharpest, usually two to three stops down from wide open, around f/5.6 to f/11 on a full-frame macro lens. Wider than that, residual aberrations soften the image; smaller than that, diffraction does. Diffraction is the bending of light at the edges of the aperture, and it blurs every point in the image equally. On full frame it becomes visible around f/11 and obvious by f/22; on smaller sensors it starts earlier. The free tutorial The Effects of Diffraction from the course’s instructor shows the effect on a real piece.
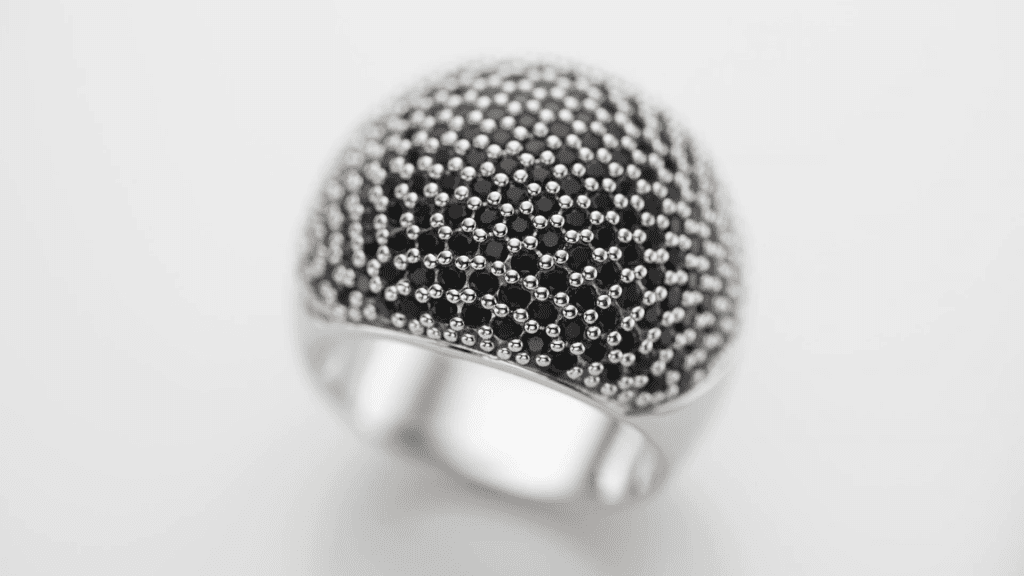
The consequence for jewelry is decisive. Stopping down to f/32 to get a whole ring in focus trades depth for softness everywhere, which is exactly what fine metalwork cannot afford. The professional method is to stay at the lens’s sharpest aperture and extend depth by focus stacking, which is covered in its own guide.
Manual focus and tethering
Autofocus hunts on polished metal and locks onto reflections rather than surfaces. Jewelry is focused manually, on a tethered screen at full magnification, which is also where the stack frames are checked one by one. Image stabilization is switched off on the tripod, and the lens is focused by moving the focus ring or the camera in small steps, as described in the Focus Stacking guide.
Common mistakes
- Using a short macro lens and then having nowhere to put the lights.
- Shooting at f/22 or f/32 for depth and losing the fine detail that makes metal look like metal.
- Trusting autofocus on a reflective surface.
- Judging sharpness on the camera’s rear screen instead of a tethered monitor at 100 percent.
- Buying a longer lens before learning what the current one does at its sharpest aperture.
See the lens and camera chapters
Mastering Jewelry Photography spends its first two theory chapters on lenses and the camera: three lessons on lenses and four on the camera and its sensor, followed by lighting, grip, software, and the practical sessions that put them to use on real pieces. 49 lessons across 12 chapters, one-time payment of $99, lifetime access.
Related guides
- Camera Settings for Jewelry Photography: sharpness and exposure
- Focus Stacking for Jewelry Photography: Full Guide: keeping a whole piece sharp from front to back
- How to Photograph Rings: lighting, focus and composition
About the author
Ivan Moshe is a commercial photographer and high-end retoucher who has photographed products for the advertising industry for more than 15 years, from his studio in Tel Aviv’s Diamond District. He was selected for Lürzer’s Archive 200 Best Ad Photographers Worldwide in 2021/22 and 2023/24, and he teaches Mastering Jewelry Photography, the online course these guides are drawn from.